


Volume III Chapter 1 (Feb. 7, 2025) Introduction to the New Forums Editor

By Dennis Maidon in Forums Features
· 607 views
Introduction to the New Forums Editor
First let me start by saying, I absolutely hate the new editor. Ok, that being said, let's jump into the new TipTap editor.
The editor used previously in the Invision 4 software was CkEditor. CkEditor is probably the most popular editor on the market. It is very configurable and very easy to add new features to it. For cost reasons, Invision decided to switch to TipTap. TipTap is exactly the opposite of CkEditor. You can't configure or add any features to the setup. Everything must be added by Invision, and they are VERY reluctant to do so.
Here is the menu bar for CkEditor:
And here is the menu bar for TipTap:

Notice any difference? The TipTap menu has a lot of drop-down menus. That means all of the features are hidden and you must search for them. I use the editor quite often and I still have a problem remembering where a specific option is located. Ok, let's get started into the various options.
INTRODUCTION TO MENU BAR
PARAGRAPH
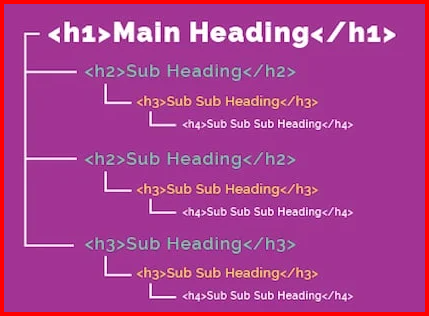
The first menu option allows you to create a new paragraph, code block and set the various heading sizes on each page. Please, do not use but one "heading 1" size per page. This should be the title of your page. Start at the top of your page with an H1 and drop down in size as you got down the page. A well-structured page will look similar to the "Main Heading" image below. The "Code Block" will probably never be used since we do not deal in programming codes on the GACE Forums.

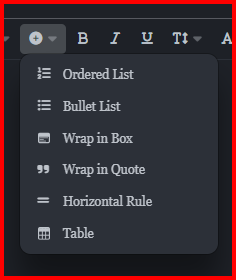
PLUS + DROP-DOWN
This drop-down has the options to create ordered and bullet lists, wrap your content in a box, wrap in quotes, place a horizontal rule and create a very rudimentary table.
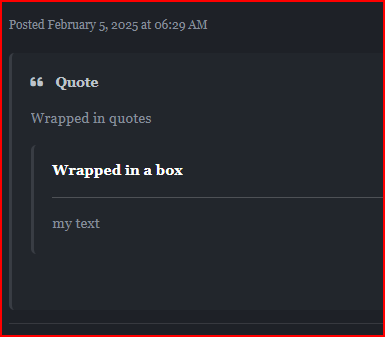
Here is an example of text wrapped in quotes and also using a box. The fist image is how it will look in the editor. The second image is how it looks after saving the post.
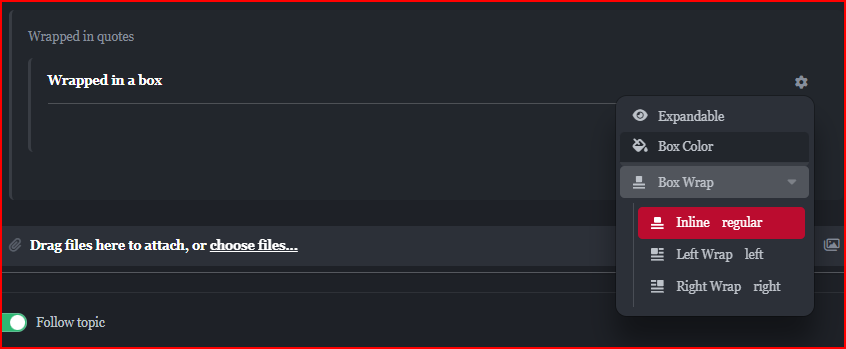
 This is actually a box inside of quotes. They can also be used separately.
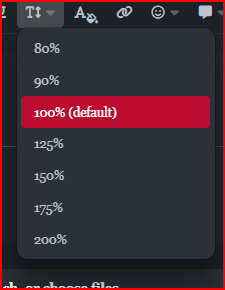
T DROP-DOWN
The next drop-down option is for font sizing. You are able to increate one or more works to make a point or have an idea stand out.
I think the smiley-face icon is pretty much self-explanatory. This is where you will find the various icons available to you to use in your posts. The bubble icon is only for Admins and Directors. it just gives up some options for pre-written emails and text for those often-asked questions. You should not see this option unless you are an Admin or Director.
The GIF icon lists the various gifs you can add to a post. For example:

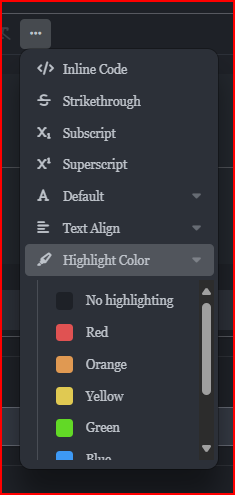
The last menu option is the ellipses. This option allows Inline Code, Strikethrough, Subscript, Superscript, Default (Font selection), Text Alignment and Highlight colors. I have already opened the color selection. There is only a minimal selection of colors. The reason for this is due to the fact that Invision 5 has the option to switch from Dark to Light. These colors are supposed to work with both options. Once Again, the "
Inline Code" will not probably get much use on here since we don't really have a use for code.
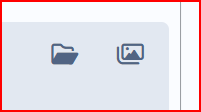
You may also attach files and/or use stock images by selecting one of the file/image options at the bottom of the editor. The option on the left is for attaching an existing attachment and the one on the right for selecting stock photos. Remember, a picture is worth a thousand words.
You can also change the size of an image by grabbing the resize handle on the lower right bottom of the image. Just click, hold and resize the image.

I would advise that when you are finished with your post that you go to the bottom of your screen and view your post in both Light and Dark Mode. You will then know how everyone gets to view your post. The switch looks like the image below.

In conclusion, play around with the various options and I am sure you will grow to hate the new editor as much as I do. 😁

-
 2
2
Recommended Comments